Friday, July 30, 2010

Experimenting with Color


So, to close out the week, we worked a little bit with watercolors (my favorite!) to try and enhance the study of our objects. We weren't trying to paint our objects, just experiment and see if anything inspirational hit us. This first one above shows the amazing fluidity that watercolor can allow.

So, we did a few and I didn't really like any of them, so I just started putting pieces of tape on my paper and then wateroloring over them:


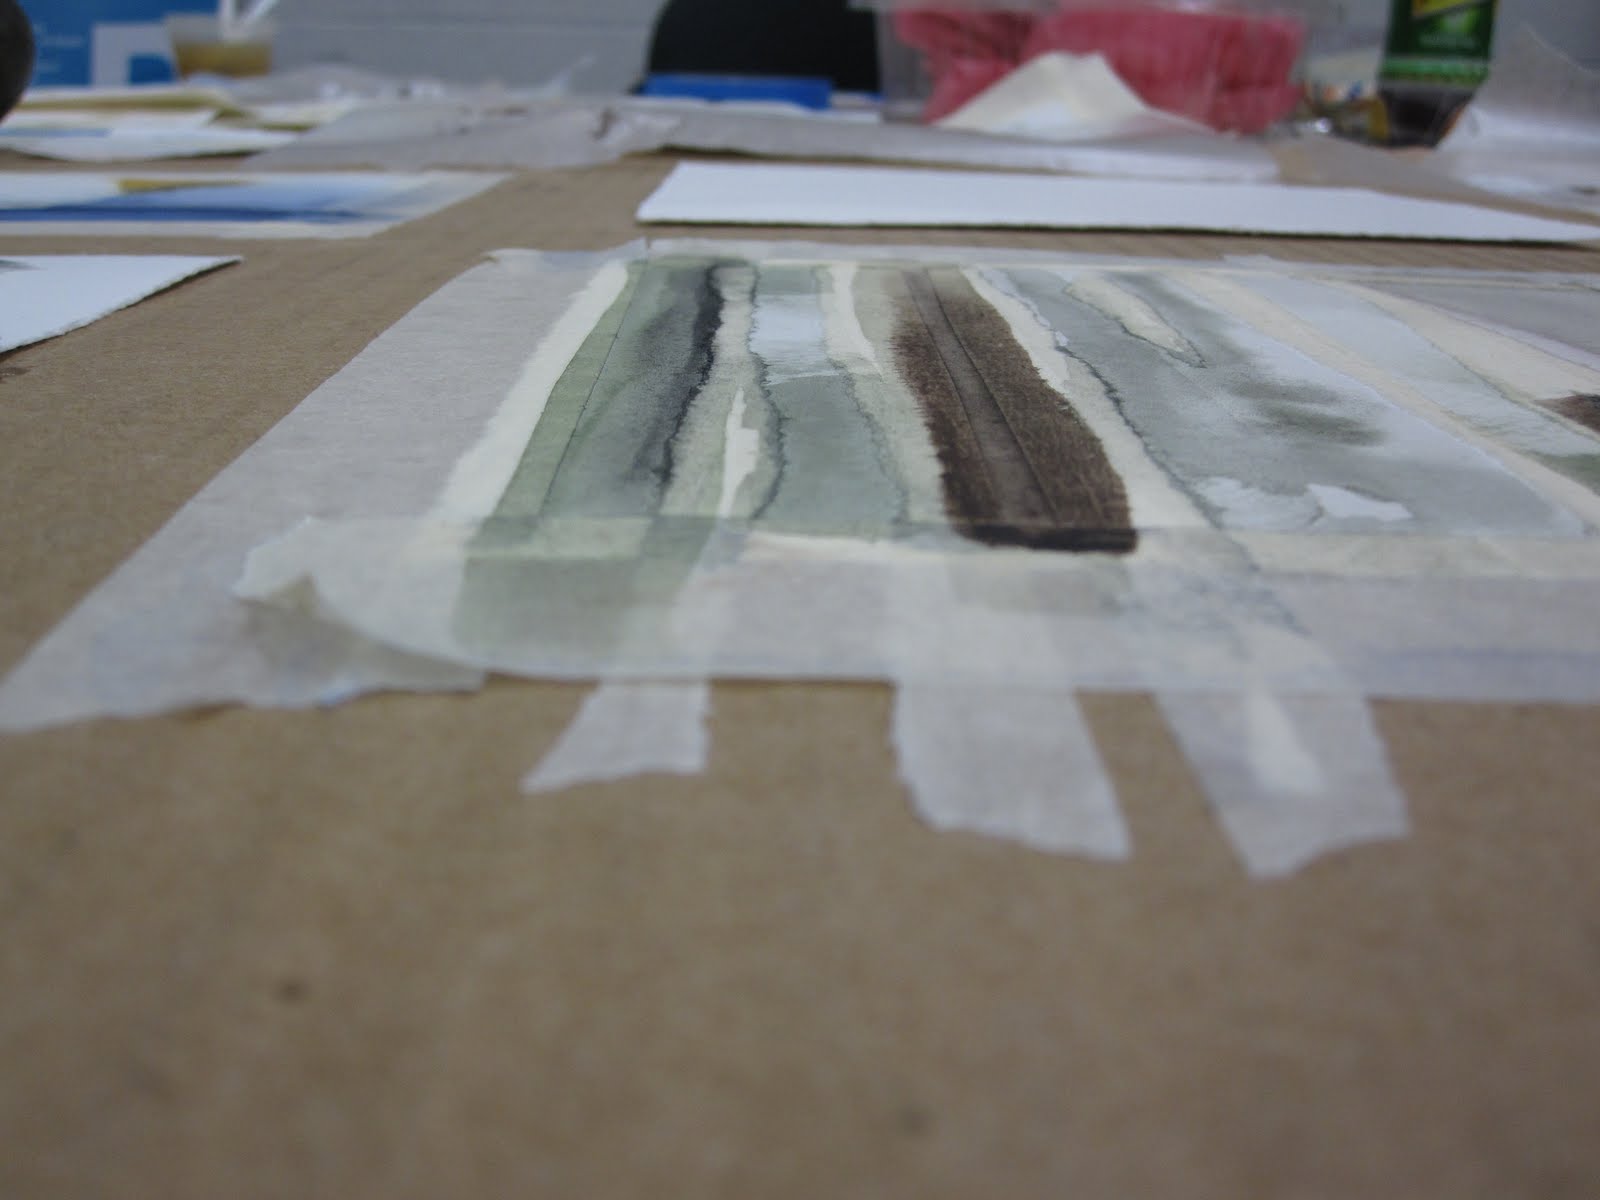
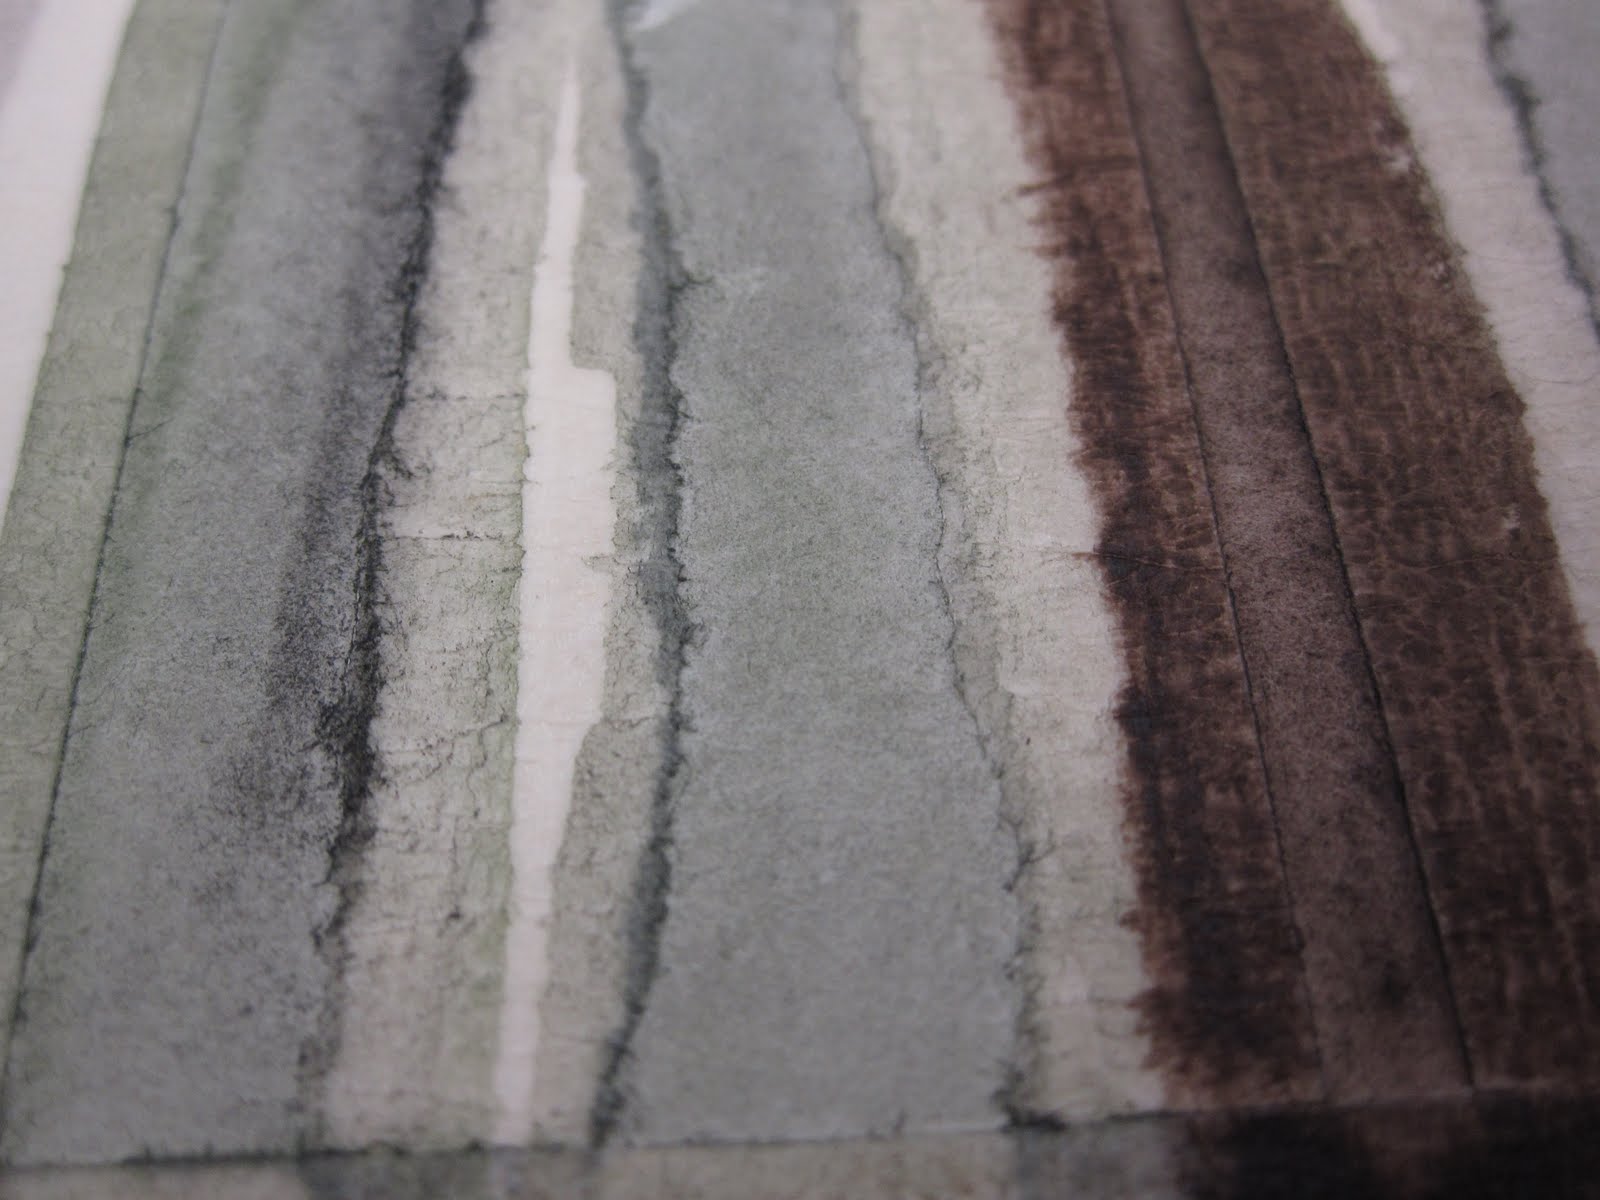
I liked this one the best and it will later come into play with the concept I'm heading towards with my avocado (another post, stay tuned!)


Finally, I wanted to include this picture below because it shows a little bit about our discussions in class. We were asked to draw four squares and then, as simply as possible, illustrate under, in, on, and over. The drawings had to follow the "rules of the universe" (i.e. a ball or dot cannot float in mid-air, because gravity is working). Of course, my drawings were WAY too literal at fist, and too detailed. After my third try, I came up with the green cubes (if you can see them on the wall!


Wednesday, July 28, 2010

Day two: Haiku

So, today we started with a lecture on Form. Later on, we had alot of time to sketch and narrow in on what the essential features to our object are. We brainstormed with concept-mapping and yes, poetry. Here is my best...

Central Dogma contained in one little seed.
Ready to take root and give way to tree,
Blossoms fall and fruit develops,
making crazy green butter
You must not forget the seed
Unless you needn't care for another.

Okay, so I promise NOT to pursue a career in poetry. Not my strong suit. But, I think brainstorming might be? Here are some of the descriptive words I came up with for avocado (please feel free to comment and add more!):

Green
Smooth
Bumpy
Buttery
Protection
Heredity
Knowledge
Growth
Nourishment
Energy-efficient
Storage
Attraction
Tropical
Enclosed
Singularity
Code
NAtural
Wood Grain
Statement
Textural
Native
Spherical
Cultivated
Ripen
Perennial
Fertility
Fragile
Living

We had to choose four to narrow in on. Any guesses as to the four I chose? Well, you'll have to tune in to see which ones. I would post pictures of my work today, but unfortunately, I left my paper at school.

At the very end of the day we read aloud the assignment that we had brought completed on the first day- An Intellectual Biography. It was supposed to be about what lead us to the decision to attend Graduate school, what we want to get out of it and what we can contribute to the program and Design in general. So, I was the only one to read mine instead of just summarizing (I'm not good with summaries, I'll just leave out a bunch and fumble for words...) Uh, let's just say mine was WAYYYY more personal than the others and there were crickets.

Gotta put yourself out there right? I hope, anyway...otherwise I'm screwed.

Tuesday, July 27, 2010

First Day of Art School: AVOCADOS!

Who Doesn't love some yummy guacamole!?!


So, when I arrived to the first day of class for interior design they fed us all guacamole. Just kidding! This was actually my chosen "well-designed" object for our first assignment. We were asked to bring in a well-designed object that could be taken apart and would later serve as inspriation for a room designed for repose, thinking and daydreaming.
I chose the avocado for many reasons, most of all its multi-faceted functions. Here's a little breakdown:
1. Knowledge. The seed inside an avocado is FULL of knowledge. It contains enough knowledge to construct an entire tree!
2. Fruit. The fruit is one of the more genius inventions by the creator. It serves so many purposes, its functionality amazes me. It protects the most important thing: the seed, the plant's only way of passing on its genes in the crazy world! It also acts as an attractor for animals to spread its seed. On top of that- it provides nutrients!
3. Locale. Avocados reign from the great Carribean and what better place to inspire daydreaming and thinking?
So, one of our first assignments today was to really study our object and learn a little about sketching. It brought back great memories of Art in high school. The first sketch we did was one from memory. We couldn't look at our object, just sketch it (this is the one I'm the worst at...)

The second sketch is one of my favorites- it's like in Cranium where it's a "sensosketch" and you have to close your eyes and try and draw it, but in this case you could look at the object, just not your paper!
The next type of sketch was a gesture sketch, which is basically a quick, 3 second sketch of your item. The last sketches we did were sketches called diagrammatic, meaning each sketch had to highlight or focus on one aspect (as if it were a field guide, pointing out major features.) Here are some of mine:


So that's all! Day one over! Whew!


Wednesday, July 14, 2010

Finished Project...finally!

So, I started the sketch for my friend's new house a long time ago (see the previous post of the preliminary sketches here: http://designartadventure.blogspot.com/2010/05/art-adjustment.html) and I've finally finished it! Good thing too, since I was really kind of pushing the "one year" rule when it comes to giving wedding gifts.

So, here is the original picture of the house:


And here is my finished sketch:


And I framed it up nicely as part of her wedding gift. Something I wanted to mention is my little trick when it comes to gifting artwork. Alot of times, you don't want to give away the original, especially when it took such a long time to complete. So, I have Staples make a few copies of the image (black and white, color, on cardstock, not, etc.) and decide which looks best in the frame and that way I get to keep the original. This is also genius because you can shrink or enlarge the image to fit or lighten and darken it as well.

Once you have multiple copies of the image, you can manipulate them however you can think of! You could make a collage, use acrylic, watercolor, photoshop...the list goes on. Here is one way I manipulated the original image above using watercolor to add a little hint of color:


Monday, July 12, 2010

Refinishing

So, I'm back. I've taken a leave of absence. Well, when you've only written two posts, does that even dount as a "leave" or just the norm? Either way, I'm back and I'm dedicated to beginning my blogging career and learning all I can to make it a great experience for those who follow.

I recently inherited (or should I say my roommate inherited) a great bar height table and chairs set. It just so happened that we needed a table and chairs set for our patio, so it was a great pick-up. The only thing? It had a pretty hideous orange stain on the top and black legs. While this may work for some, it was certainly not my aesthetic. Lucky for me, my roommate gave me carte blanche to do what my little heart desired.

I decide to keep the black legs since they were in pretty good shape and sand off the wood stain. But, what to do from there? I was hesitant to do a bold color and thus, decided to do an "antique" finish since I knew it would probably weather some on the patio. So, without further ado...here it is!